Doll Making: Pro-Tips
Tricks of the Trade for Professional Results
Welcome to Doll Making Pro-Tips: Part 1.
I say part 1, not because I have a part 2 planned at the present time but more because you just never know. In the middle of making something, it might just occur to me…
“That would make a great Pro-Tip, people need to know about this!”
I have been working in fashion and textiles related fields my whole life.
If you knew me you would say it was my “thing!” for those of you who don’t know me, here’s a brief intro, alternatively you can head over the website’s about page to learn more.
I’ve been sewing and making things for as long as I can remember, my favourite aunt bought me my first sewing basket and ‘how to’ book when I was six years old, but by this age I was already sewing and knitting.
My mum used to make all of our clothes when we were kids. She was taught to sew, knit and crochet by her grandmother and she taught me. I was allowed to use any of my mum’s leftover scraps of fabric and yarn, which was like a treasure trove to a six year old who loved to make things.
I made my first, small-human-sized, skirt at the age of 10 using an old Victorian hand-operated sewing machine, a commercial pattern and a couple of yards of fabric bought at the local market.
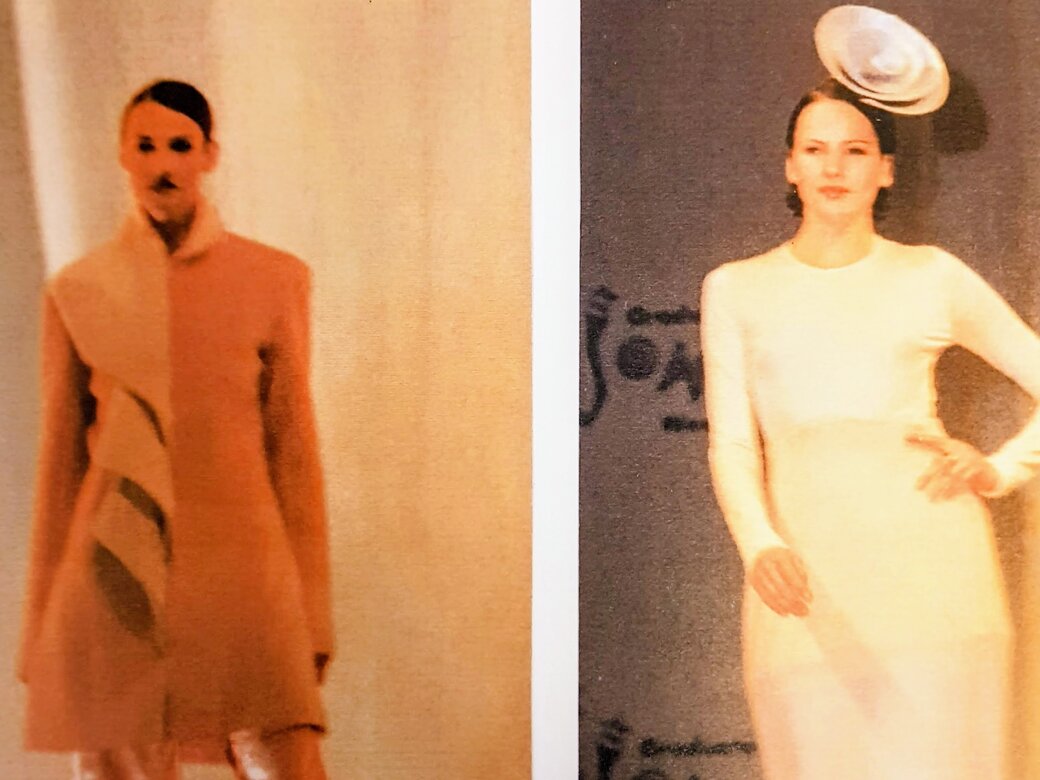
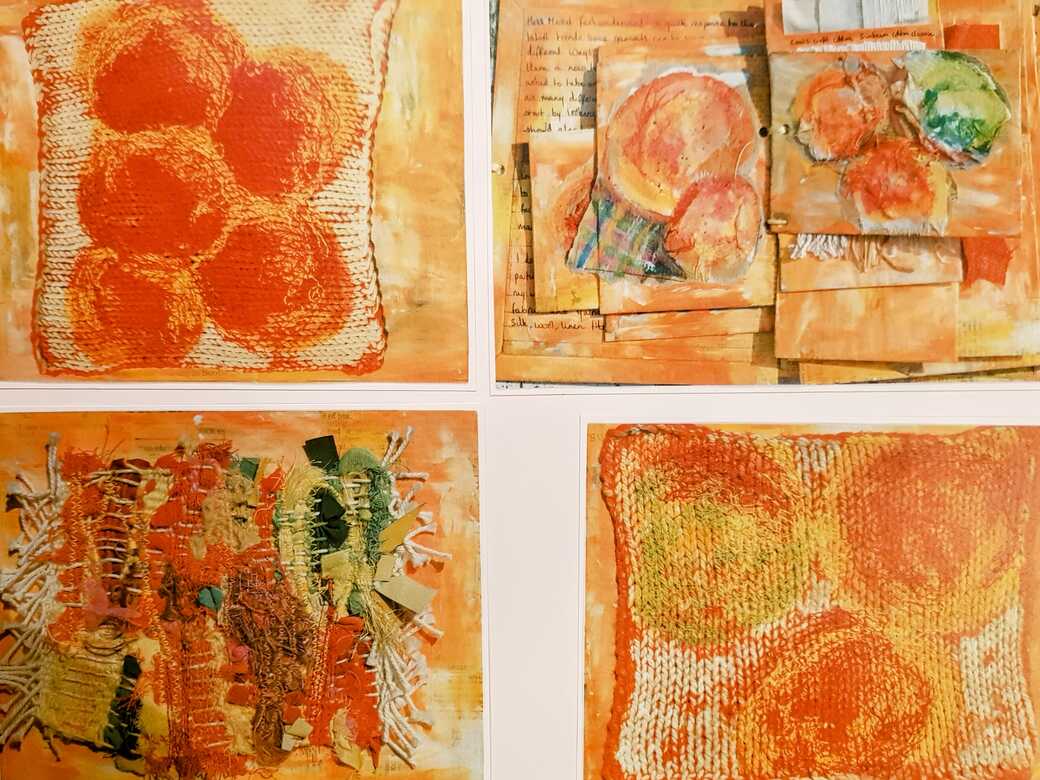
I went on to study fashion textiles at university and have taught textiles in UK schools.
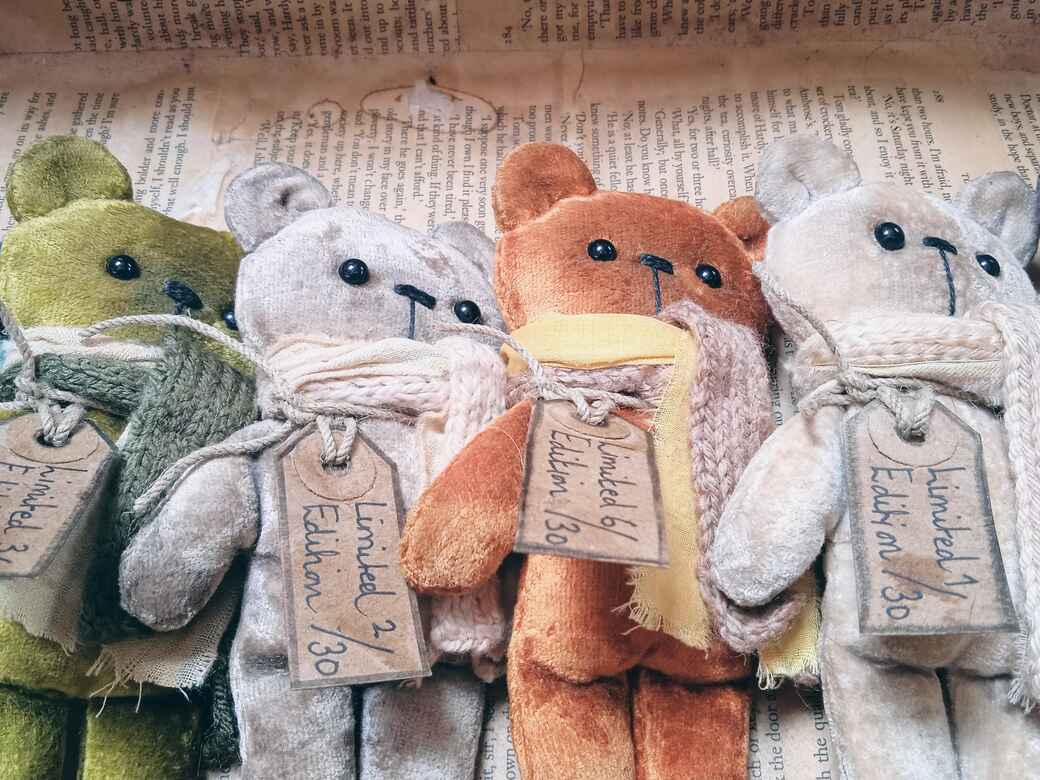
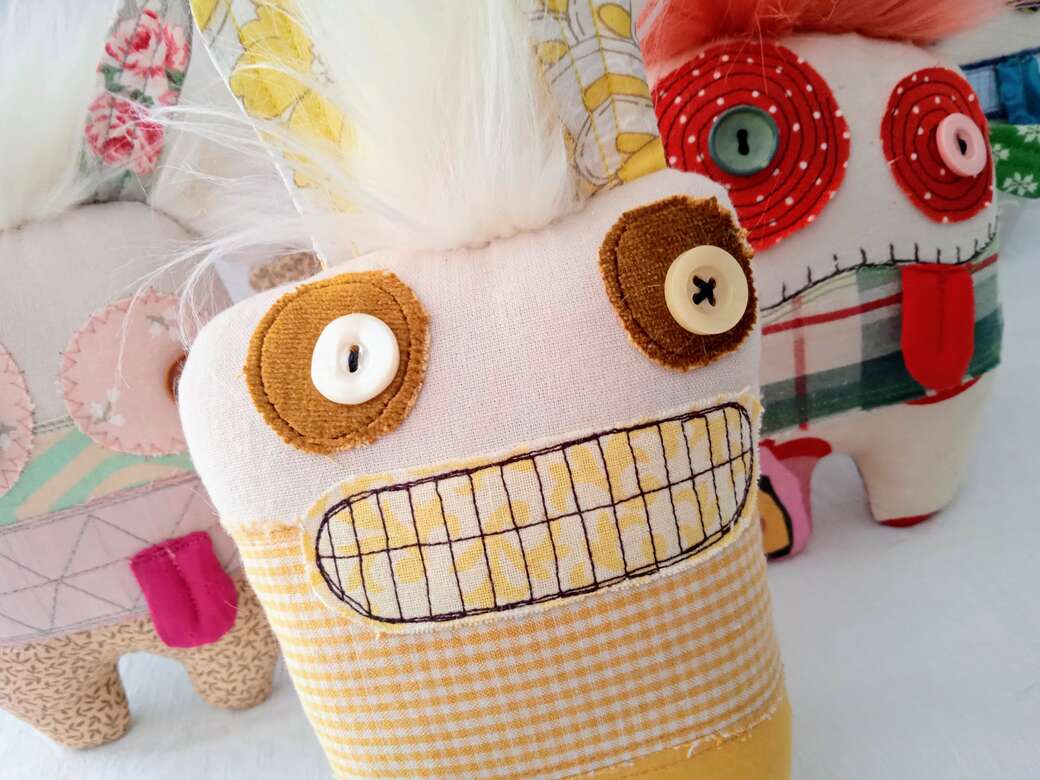
For the last 18 years I’ve been designing and making teddies, dolls and other whimsical creatures, selling them at specialist toy/comic-con events, through retail outlets and online. Check out my Etsy shop here.
Over the years I’ve picked up a few pointers and indispensable tips, sometimes from inspirational teachers or fellow artists and sometimes through bitter experience, learning the hard way.
Avoid learning “the hard way” follow my Top 3 Pro-Tips to help you achieve professional results and elevate your doll making skills.
Doll Making Pro-Tips ~ Tricks of the Trade for Professional Results
My top 3 Pro-Tips to get the best results from your doll making.
Full instructions with detailed photos.
If you prefer you can download a PDF copy available on Patreon*.
Green Dog Dolls is new to Patreon* so membership and access are currently FREE.
Become a Patreon* member now and gain full access to exclusive bonus materials for FREE.
*Patreon is a platform where artists and content creators can share exclusive content with their supporters.
There is often a monthly subscription fee of about £5.
This shows support and appreciation for a creators work and helps to build a community.
There is currently NO CHARGE for membership, while I roll out and test this service.
Doll Making Pro-Tip 1: Turning
Turning refers to the process of sewing fabric with the right side facing inward and then reversing it so that the right side is on the exterior.
When you turn a pair of jeans or a t-shirt inside out, you’ll notice that the seams are sewn on the inside of the clothing.
The term ‘right sides together’ is commonly used in sewing to ensure that all seams and construction details are concealed inside the garment once it is turned right side out.
Imagine a pillow case, inside-out after washing, seams on the outside.
The opening at one end allows you to reach in and pull the inside to the outside so the right side of the fabric is visible on the outside and the seams are hidden on the inside.
This same opening is used for stuffing the pillow into the pillow case.
Doll making involves creating 3D shapes, very similar in principle to the pillowcase/pillow analogy.
The doll’s seams are sewn with the right sides of the fabric together while leaving an opening unstitched for turning.
The opening is indicated on patterns with two marks on the sewing line.
Do not sew between these marks; this part of the seam is left open for turning and for adding stuffing to create the 3D shape.
i) For turning the small elements used in doll making, I prefer to use forceps but you can use tweezers.
Carefully insert the tips of the forceps into the opening. [A]
ii) Grab a small amount of fabric with the tips and carefully pull back through the opening. [B]
Gently tease the shape out, If the fabric starts to bunch up, gently push it back and try again.
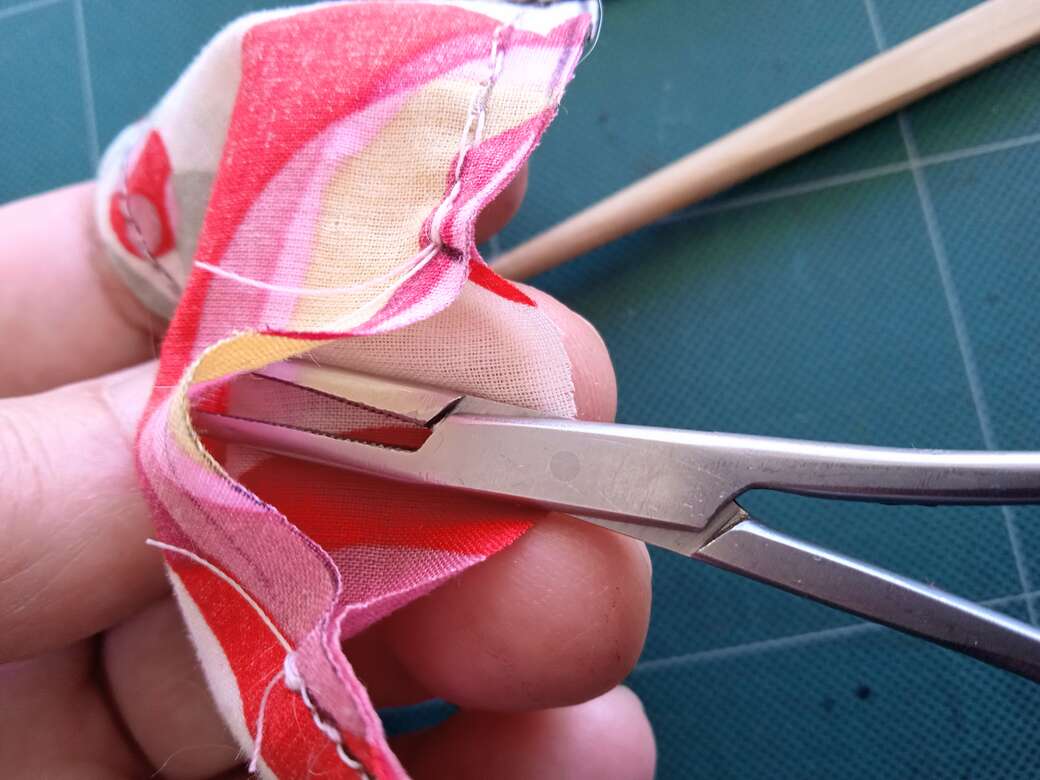
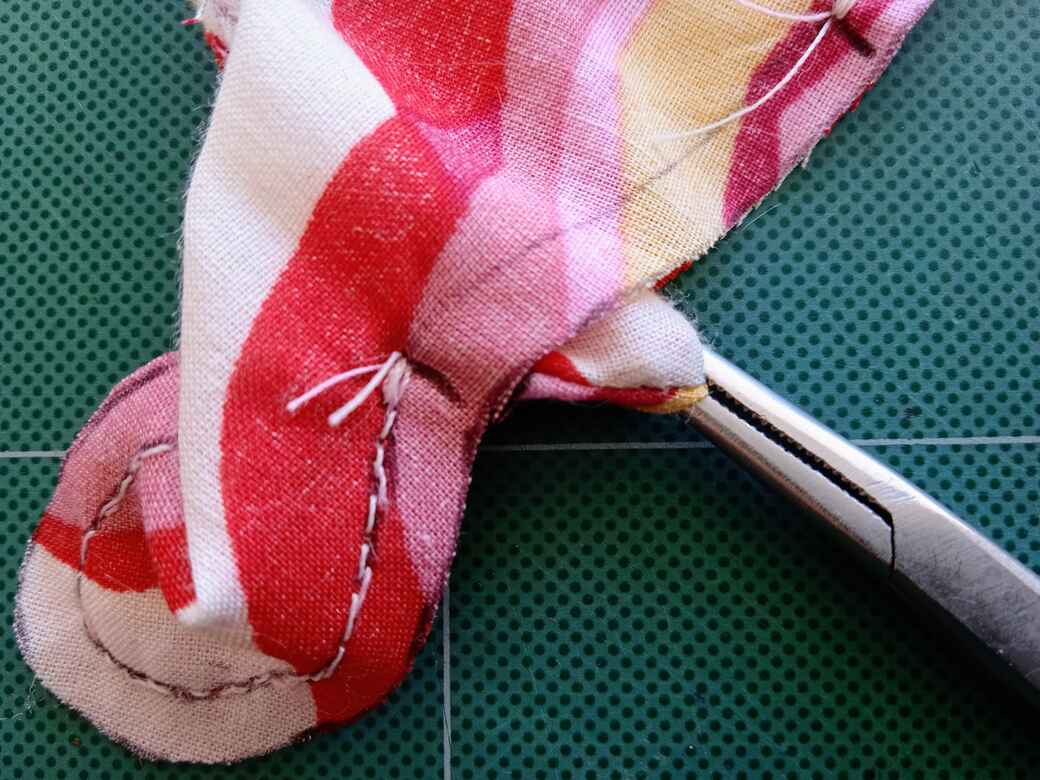
It’s worth spending a bit of time on this step until you get the feel for it, as this is a make-or-break stage in doll-making.
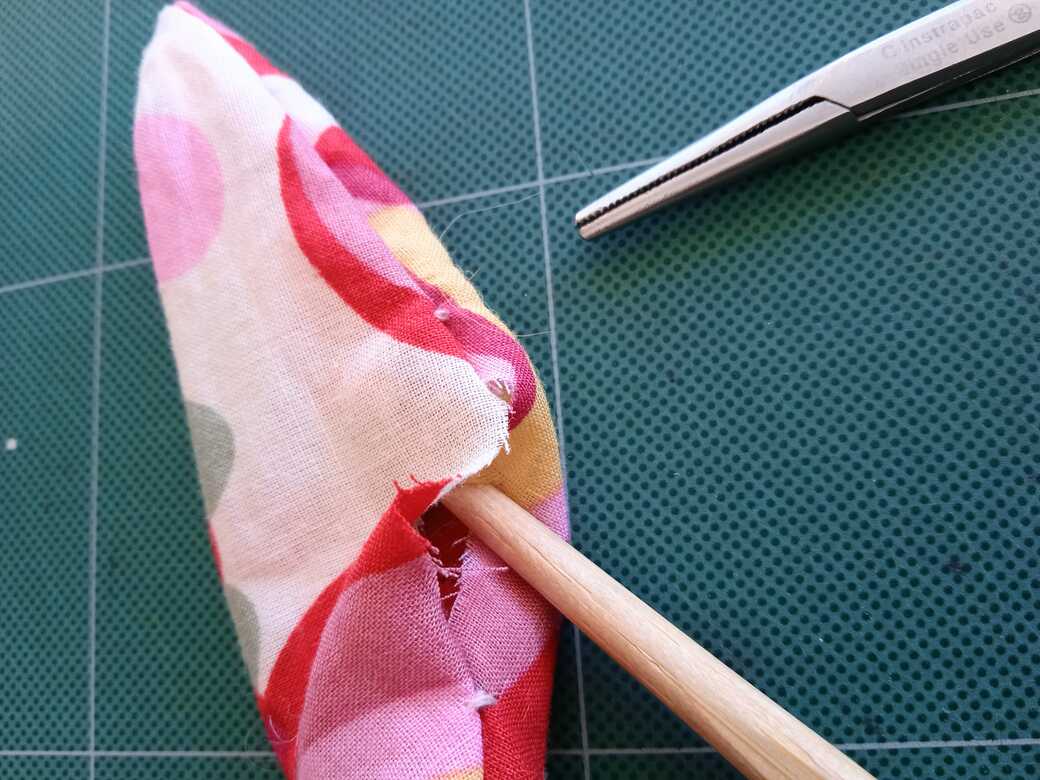
iii) Use a chopstick to carefully push out the shape from the inside.Take care to be gentle so as to not pierce a hole in the fabric or damage the stitches. [C]
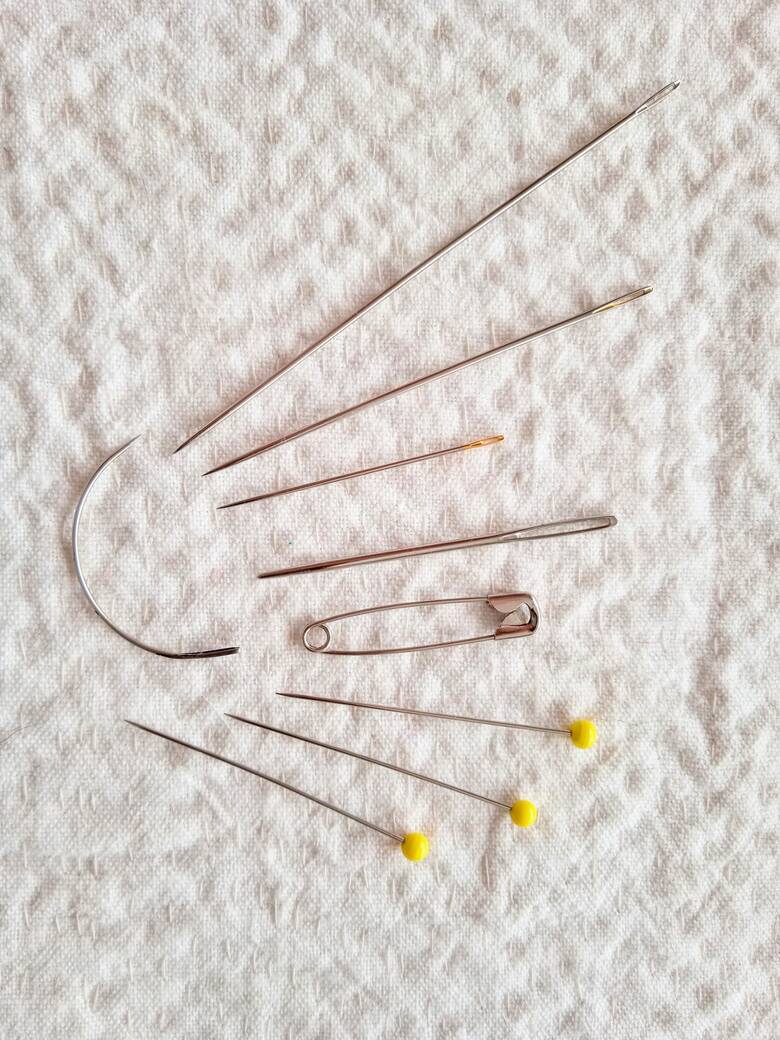
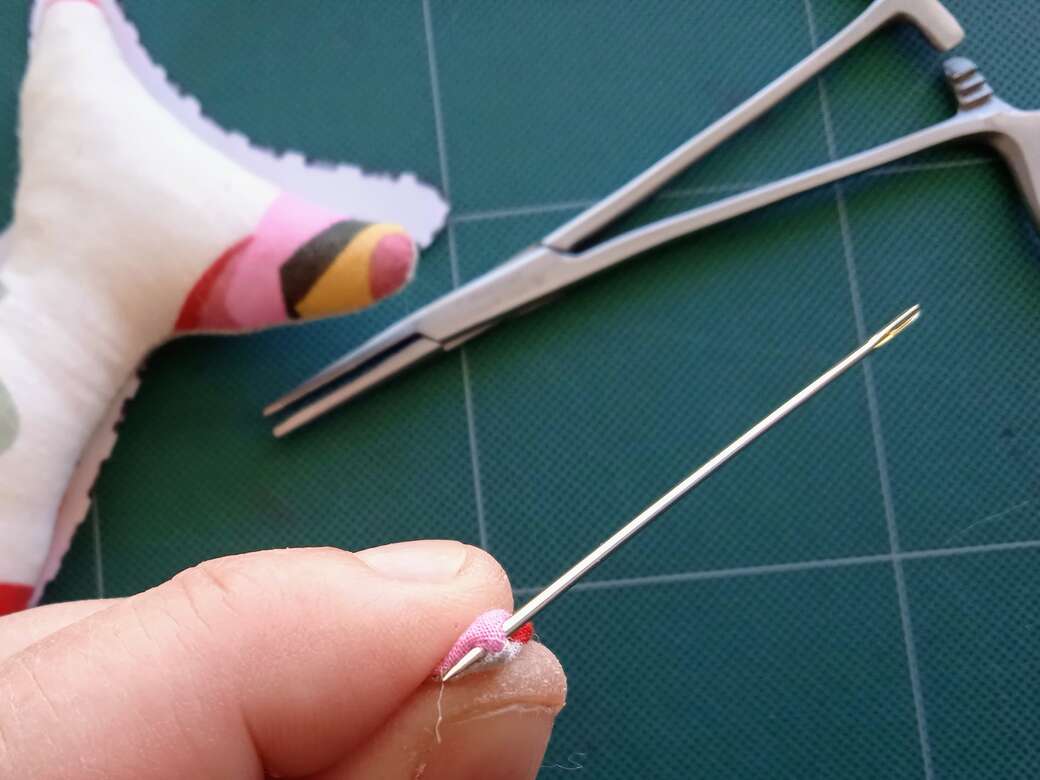
iv) Pay special attention to the small area and details. A needle can help tease out tiny parts if they look like they are folded in on themselves. Use the needle to gently tease out the fabric until you can see the stitches of the seam. [D]
Doll Making Pro-Tip 2: Stuffing
Stuffing is both a noun and a verb.
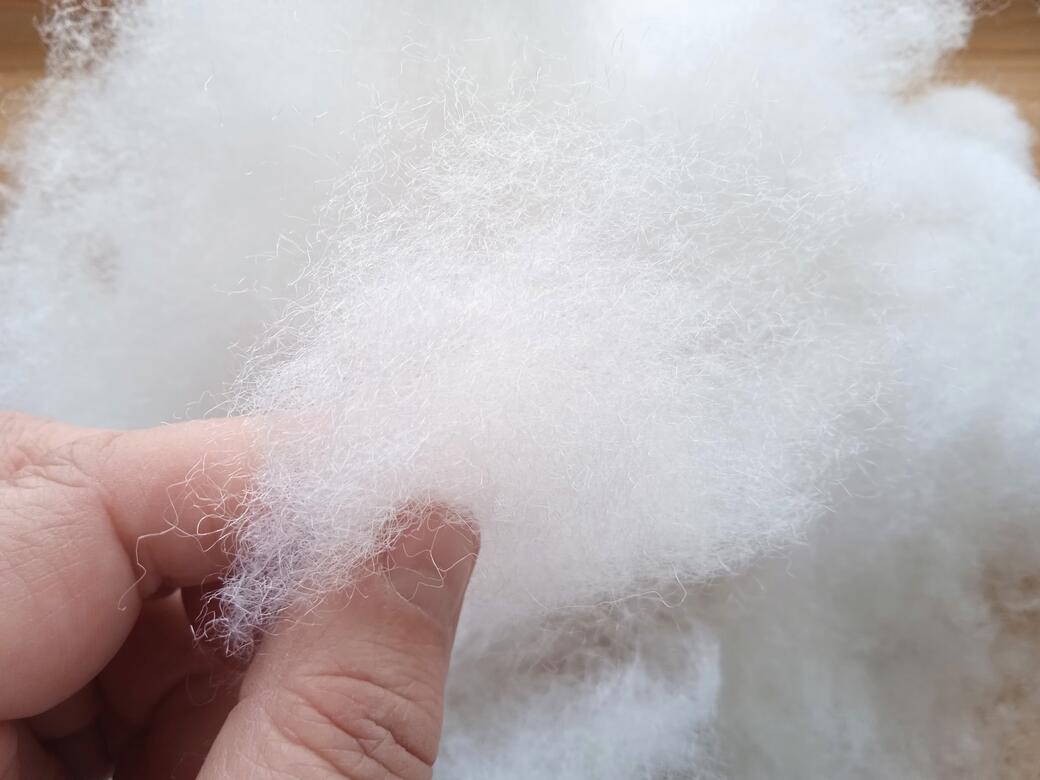
Stuffing the noun refers to the polyester fibrefill [F] that is used in cushions, pillows and dolls. (There are other types of stuffing available but I mainly use this type because it is clean, light, easy to use, readily available, safety tested and relatively affordable.)
Stuffing is the present participle or gerund of the verb stuff and refers to the action of tightly filling a space or receptacle with something.
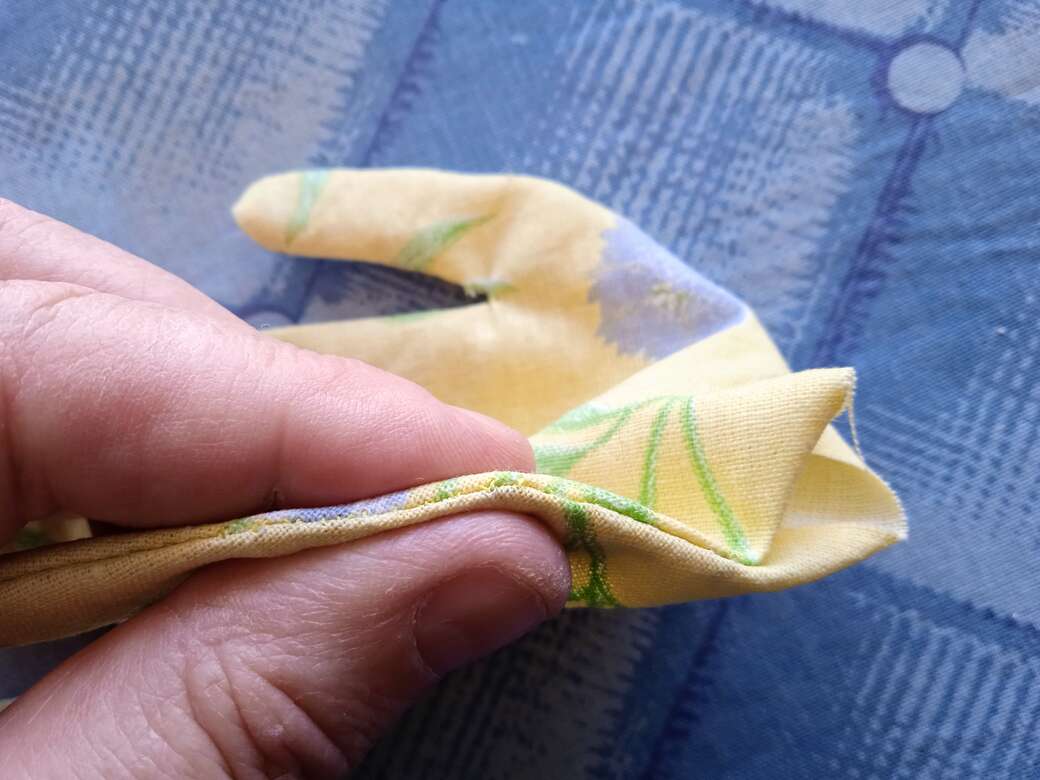
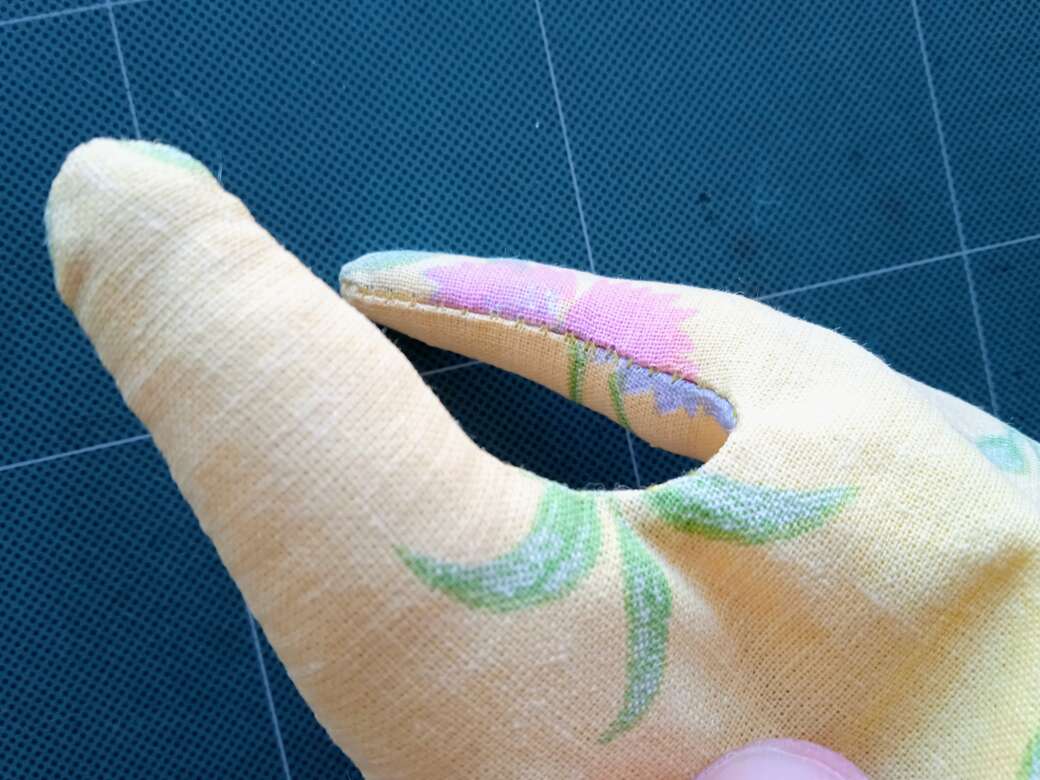
i) Prepare the doll’s seams before stuffing: Smooth seams by rolling between the thumb and forefinger.
Holding the seam close to the sewn edge with your thumb placed on one side and your forefinger on the other, gently roll the edge between your thumb and finger. This rolling action helps to define the edge and smooth out any bumps or points. [E] Gradually work along the length of the seam.
ii) Prepare the stuffing: Take a small handful of the polyester fiberfill stuffing and pull off a small amount, no bigger than a large grape.
Pull it apart with your finger tips using both hands, replace one piece on top of the other and then repeat this action several more times.
Pulling apart the fibres [F] helps to reduce clumping and lumps when stuffing your doll, resulting in a much smoother appearance.
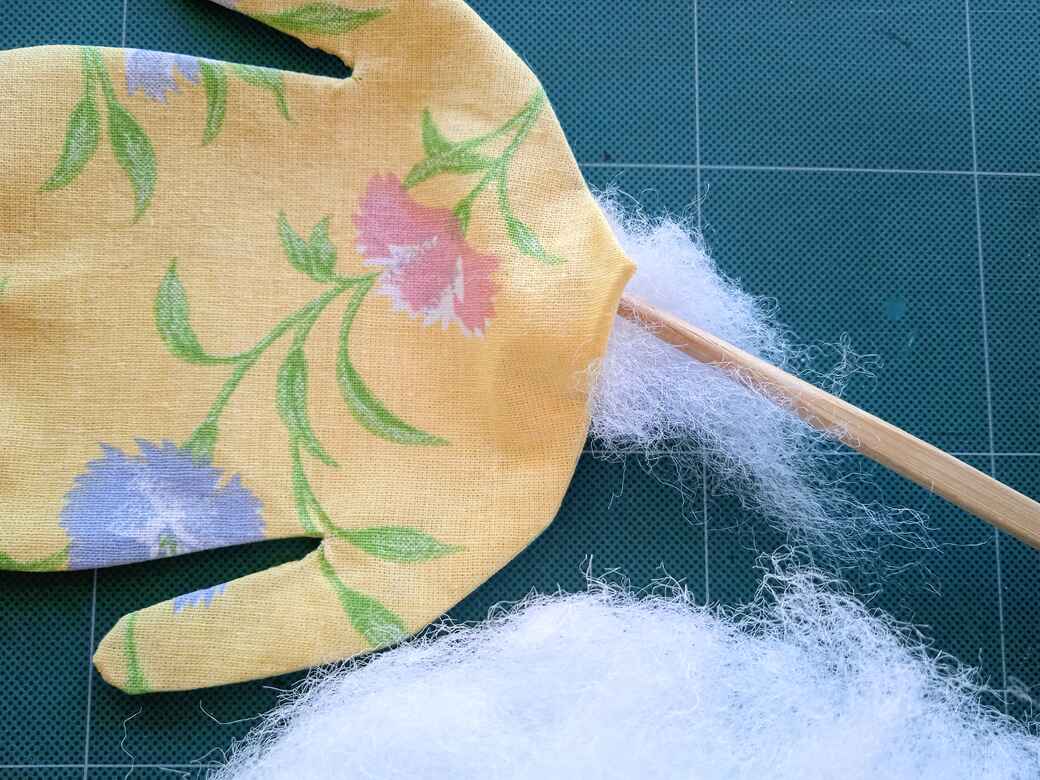
iii) Stuff the doll: You can buy expensive stuffing tools (I have one) but I swear by and always use a bamboo chopstick to stuff my dolls. [G]
*Take a small amount of fibrefill, pull it apart to loosen the fibres as described above and then, starting with small areas, e.g. hands, feet, ears etc… start to push the stuffing into the area with the chopstick. [H]
iv) Slowly build up the form, as much by feel as sight, massaging out any lumps and adding more filling to any voids.
I use a combination of my fingers and the chopstick to stuff and also roll the doll’s limbs in between the palms of my hands to achieve a smooth appearance.
v) If necessary, pull out any clumps that have formed and repeat the process from *.
This stage really can’t be rushed. I have, many a time, completely removed all the stuffing and started from scratch if the final appearance was still lumpy and bumpy, despite my best efforts.
Doll Making Pro-Tip 3: Losing the thread inside the doll.
This is a technique used for making 3D soft sculptures, including dolls and bears.
Some of the finishing off in doll making is completed on the outside of the doll where it can be visible e.g stitching closed the opening after stuffing.
If we cut the thread too close to the final stitch it is not very secure and the stitches could unravel.
By leaving a long tail of thread after the last stitch and losing it inside the doll we avoid untidy tails of thread and prevent stitches unravelling.
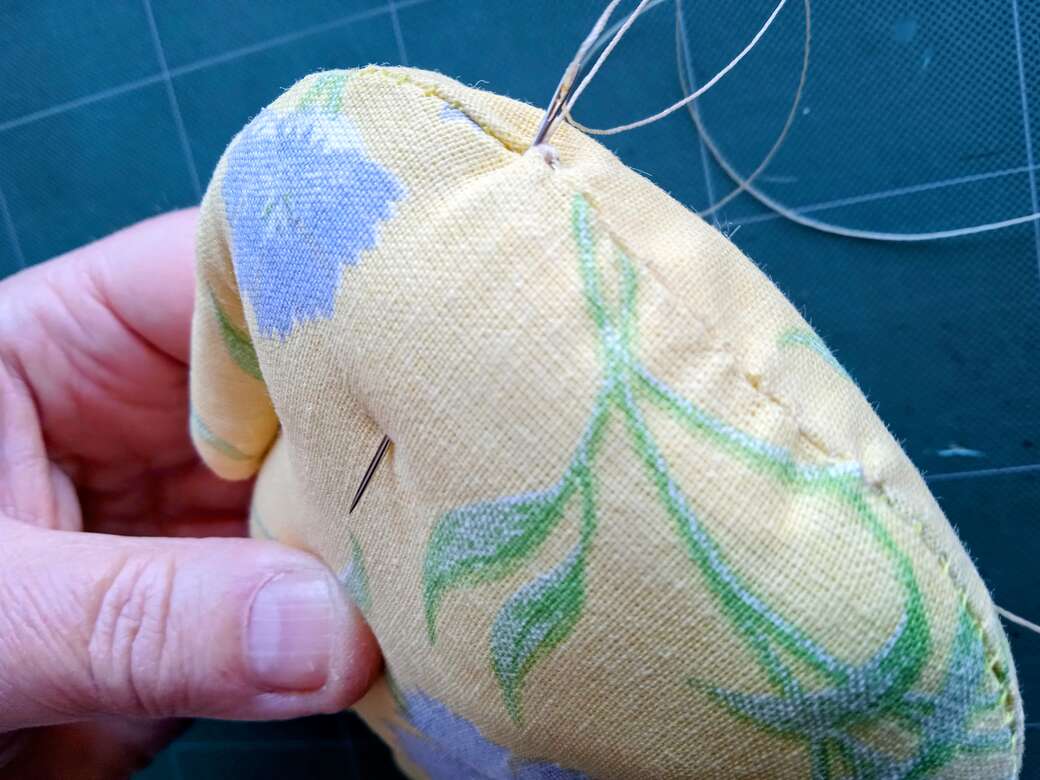
i) Assuming we have just stitched the doll’s opening closed after stuffing [I] or similar…
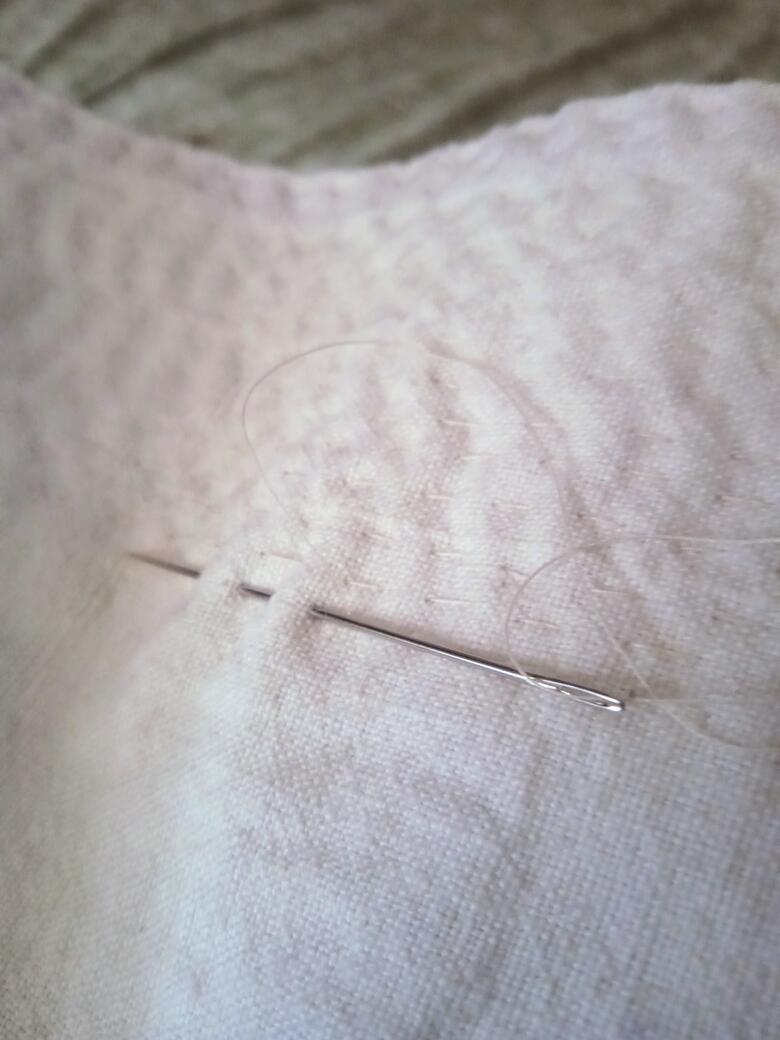
After securing the thread, e.g with anchor stitch, push the threaded needle back into the doll at the exact same place as the last exit point (where the thread is still attached).
If it’s not possible to push the needle in the exact same place, aim to be very close to it, a maximum of a threads width away.
ii) Instead of making a stitch you are going to push the needle through the doll and come out the other side. [I]
Try to pick an inconspicuous or well hidden spot if you can.
iii) Now push the needle back into the doll at this latest exit point and again push the threaded needle through the doll and come out at a completely different point on the doll.
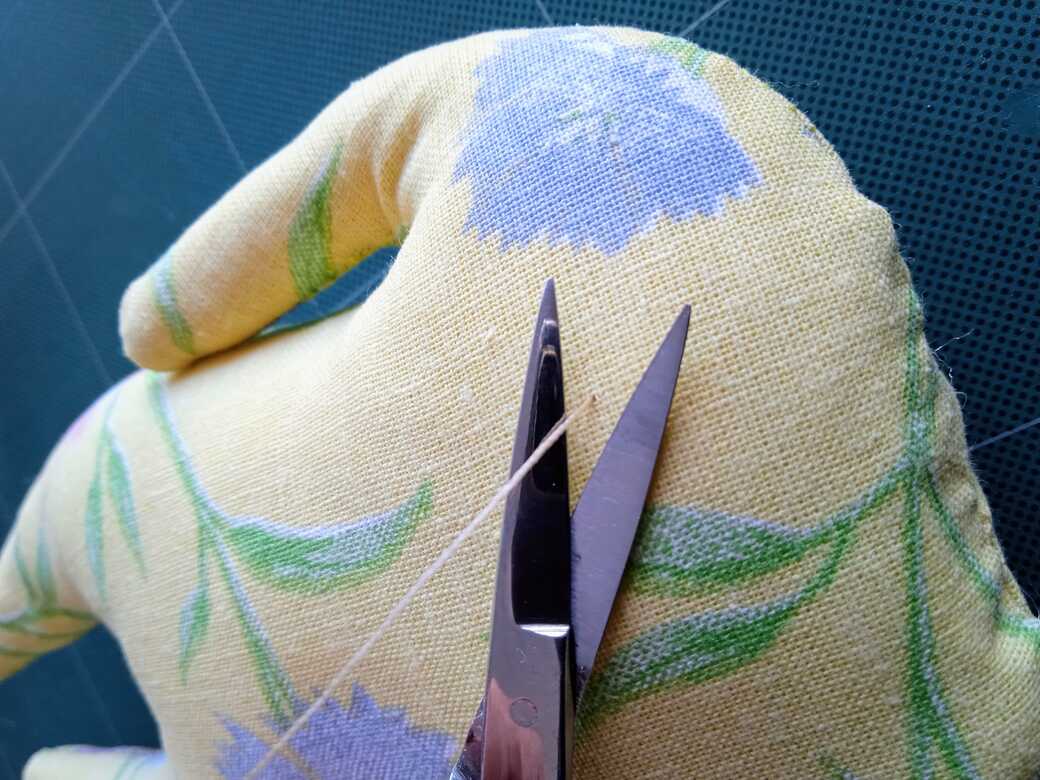
iv) Cut the thread very close to the surface, being careful not to cut the fabric. [J]
The thread tail (The distance between the anchor stitch and cutting the thread – approx. 10 cms in this particular situation) is now hidden inside the doll.
So those are my Top 3 Doll Making Pro-Tips, based on my own experience as a doll artist and textiles teacher.
I hope you find them useful in your doll making.
~
Any questions or suggestions? Leave me a comment or use the contact form.
Like I said at the beginning I don’t have a part 2 planned at present but you just never know.
~
Join Green Puppy Club for FREE on the website to receive a welcome gift and bi-monthly newsletter so you’ll be one of the first to know about pattern releases and updates.
Thank You & Happy Sewing x

