Summer is fast approaching but it’s times like these that I actually like to slow down.
During the summer holidays everywhere seems extra busy, the roads, the beaches, even the supermarkets but it’s the perfect time to slow things down with this slow stitching, scrappy fabric project.
Cornwall offers 422 miles (697 kms) of coastline and is a top holiday destination for staycation loving Brits. It has always been popular with families seeking a traditional British beach holiday with sun, sea and sand, fish and chips, ice cream and a stick of rock to take home.
I have fond memories of childhood holidays, camping in Cornwall but now-a-days I prefer to travel at other times of the year.
Despite not wanting to be on the road during July and August, I still manage to take some time out, to relax.
This year I have discovered slow stitching as a new hobby. It’s sewing, which I love, but at a much slower pace and without much of a plan.
I started making these scrappy fabrics as part of
The Crafting Creativity Project ~ 8 steps to inspire creative practice everyday
A free guide to help get your creative mojo back on track.
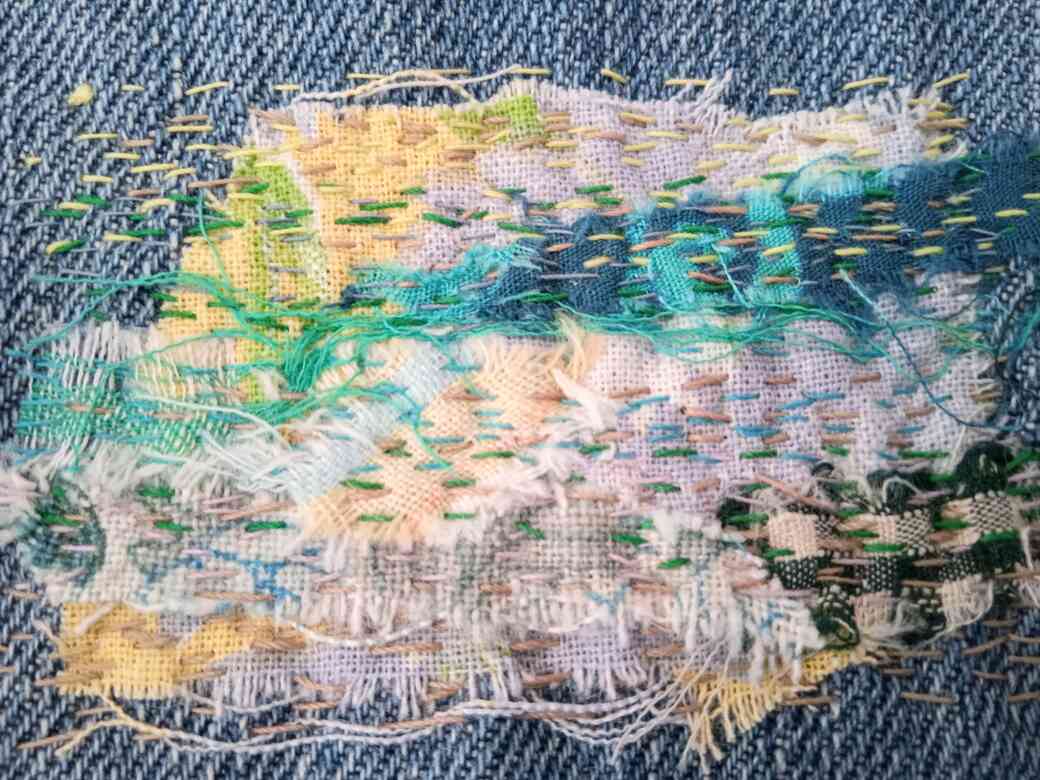
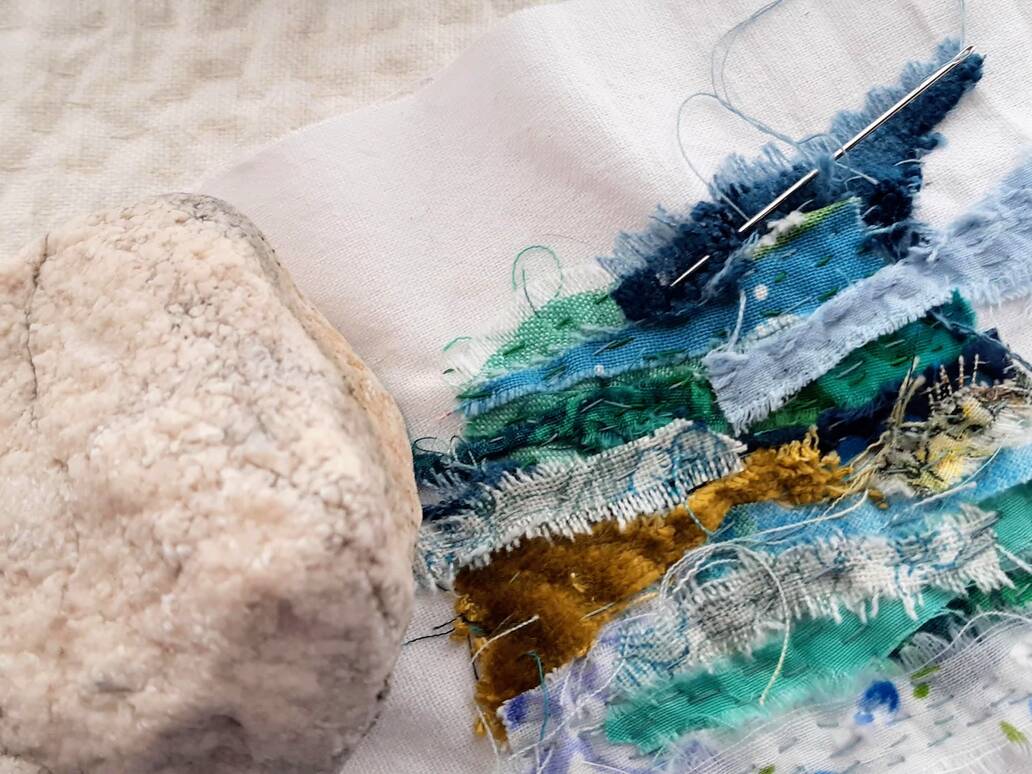
Scrappy Fabrics are small stitch experiments using tiny scraps of fabric, stitched to a base fabric with rows of simple running stitch in coloured threads.
It’s a slow, meditative process and because you don’t need a lot of supplies, (small scissors, a few pins, needle, thread and some small scraps of fabric) it’s a project that’s easy to take with you on the move. (Fig 1.)
The scraps, used to make these cute stitch experiments, are so small they would probably end up in a bin.
I’m never quite sure what the scrappy fabric will eventually become, but just sitting down to 30 minutes of freeform stitching and seeing what emerges is quite therapeutic.
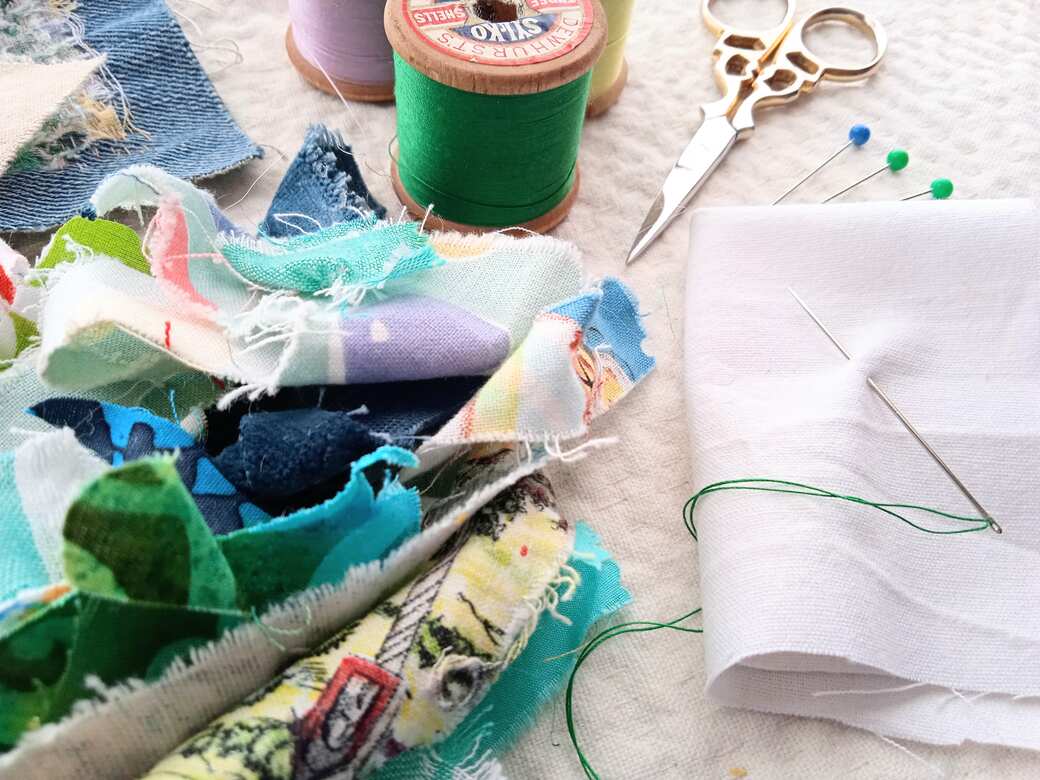
To make your own scrappy fabrics, you will need:
- BASE FABRICS – Old sheets, linen or denim.
- SMALL SCRAPS OF FABRIC – Collect left-over scraps and off-cuts, even tiny pieces, from other projects.
- THREADS – 1, 2, 3 colours or more, I often use either 1 or 6.
- A FEW PINS – To hold the scraps in place when stitching.
- A NEEDLE – Use a fine sharps (general sewing) needle, the finer the needle, the easier it is to make small stitches.
- SCISSORS – For cutting the threads and fabrics.
-
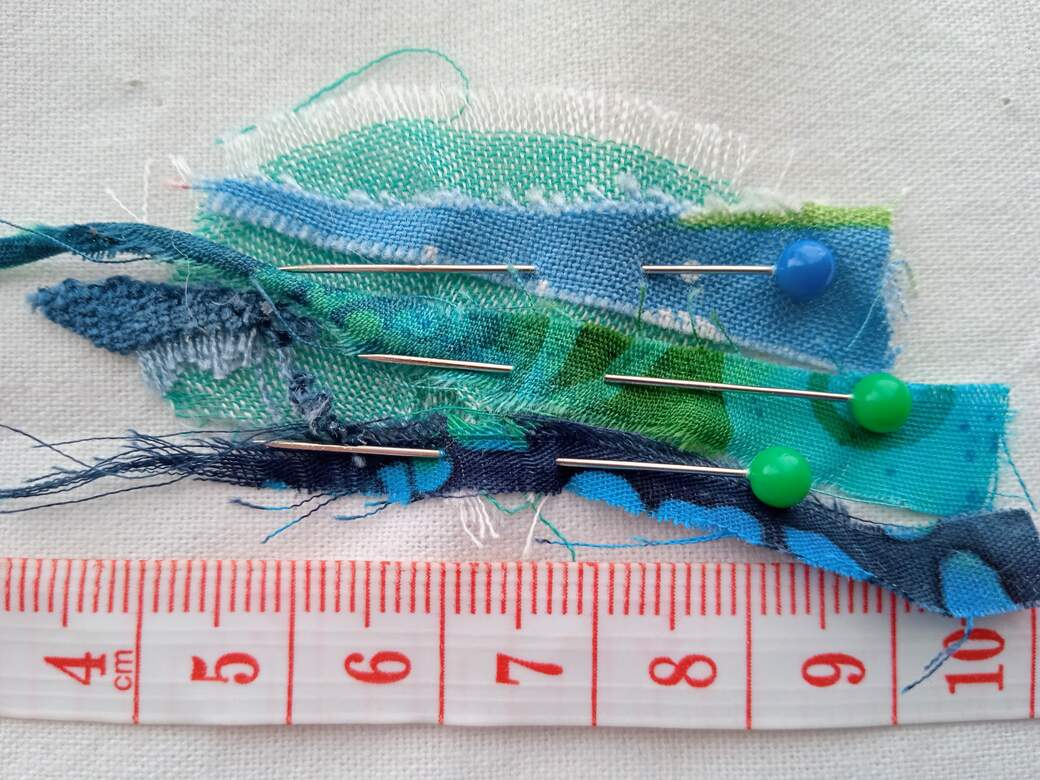
1. Place some small scraps of fabric onto your base fabric and secure them with a few pins. The pieces of fabric can be cut or torn to the size you want. I prefer to keep pieces very small. I have included a tape measure in the picture so you can gauge the size of the pieces I am working with. (Fig 3.)
2. Thread the needle with a length of general sewing thread (approx. 50cm, not too little that you constantly need to rethread the needle, not too much that it’s difficult to manage and keeps knotting up.)
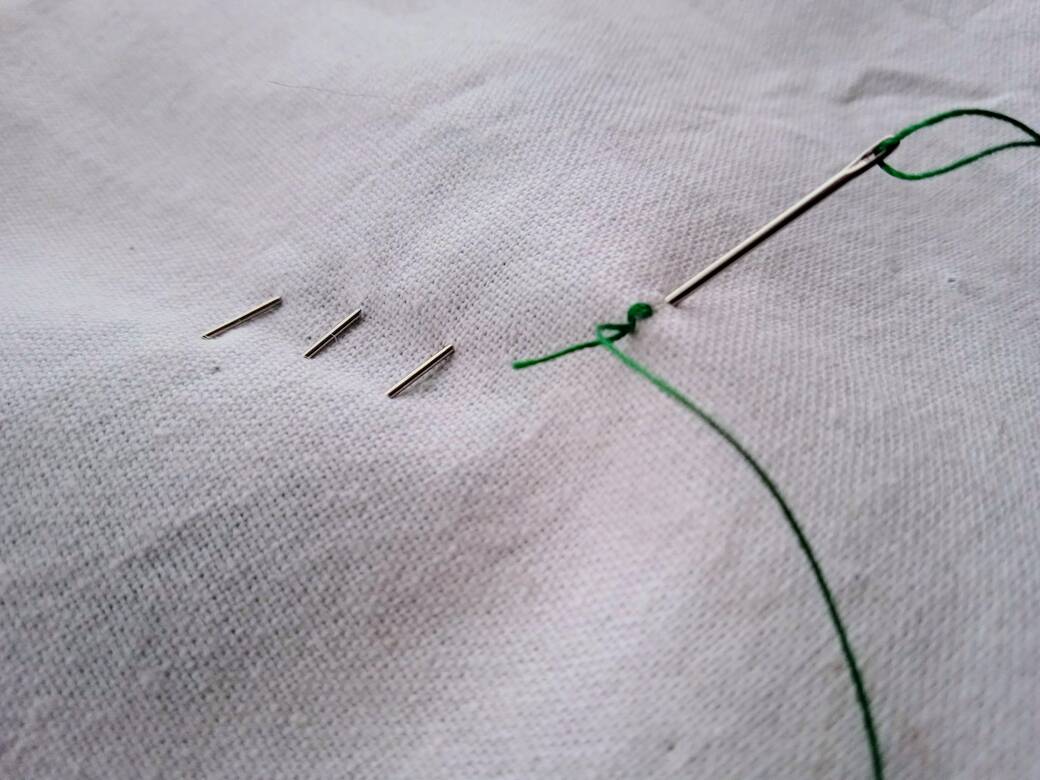
3. Anchor the thread at the wrong side of the work with a few small stitches, (Fig 4.) pass the needle through the fabric to the right side, near to the first scrap you want to stitch in place.
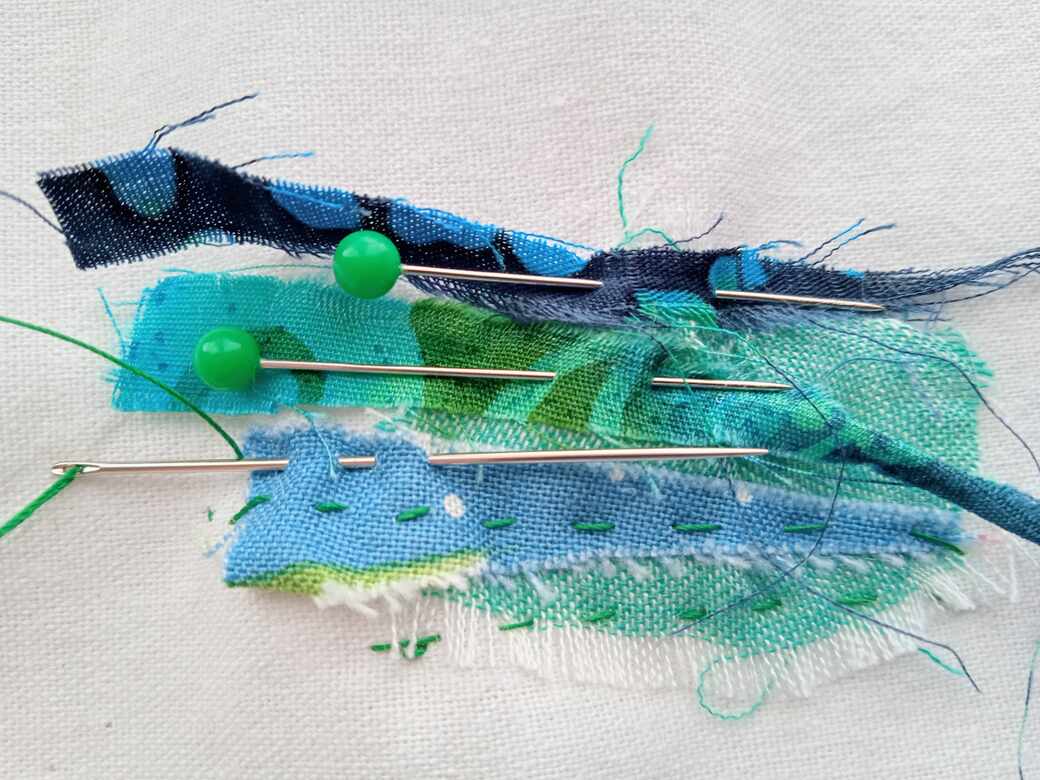
4. Start to sew tiny stitches to secure the scraps to the base fabric. The stitches can be scattered, follow the outline or in rows, there isn’t much of a plan here, just experiment and see what emerges. (Fig 5. worked in rows)
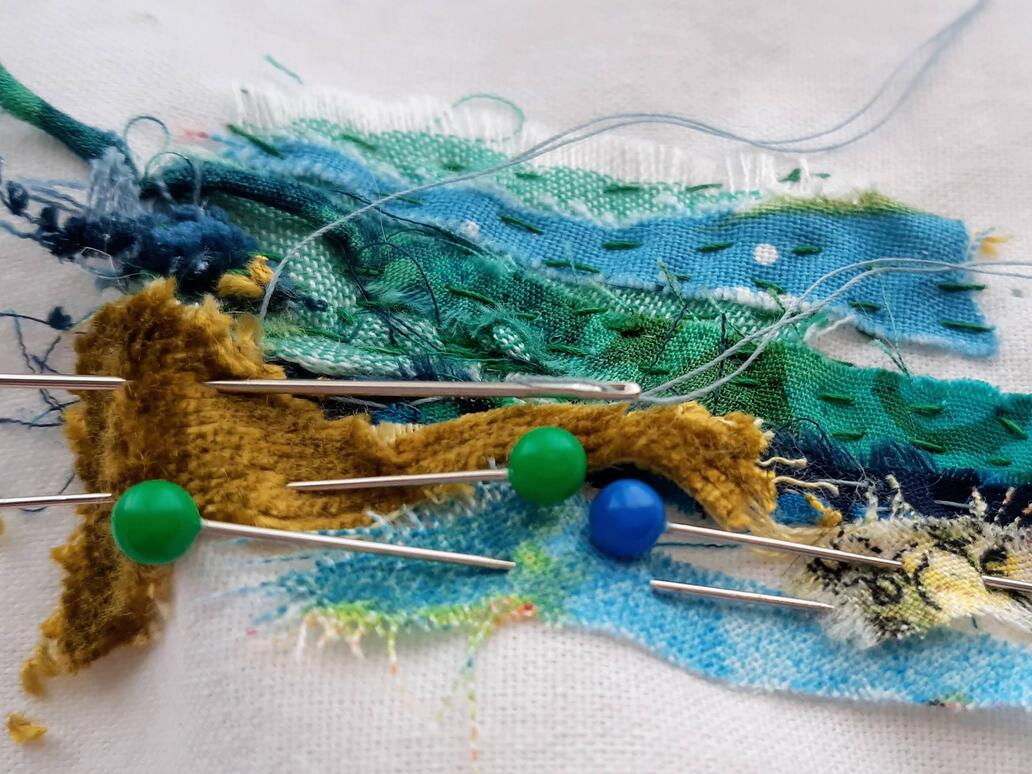
5. Remove the pins as you sew, continue adding scraps and stitching, building up layers and change thread colour if you like. (Fig 6.)
This process involves lots of tiny decisions, without knowing what the finished result will be. Similar to going on a journey without knowing the destination.
6. At this point I decided I wanted to make this scrappy fabric into a paperweight style, wrapped stone. l found a suitably sized rock outside and gave it a quick wash and dried it. (Fig 7.)
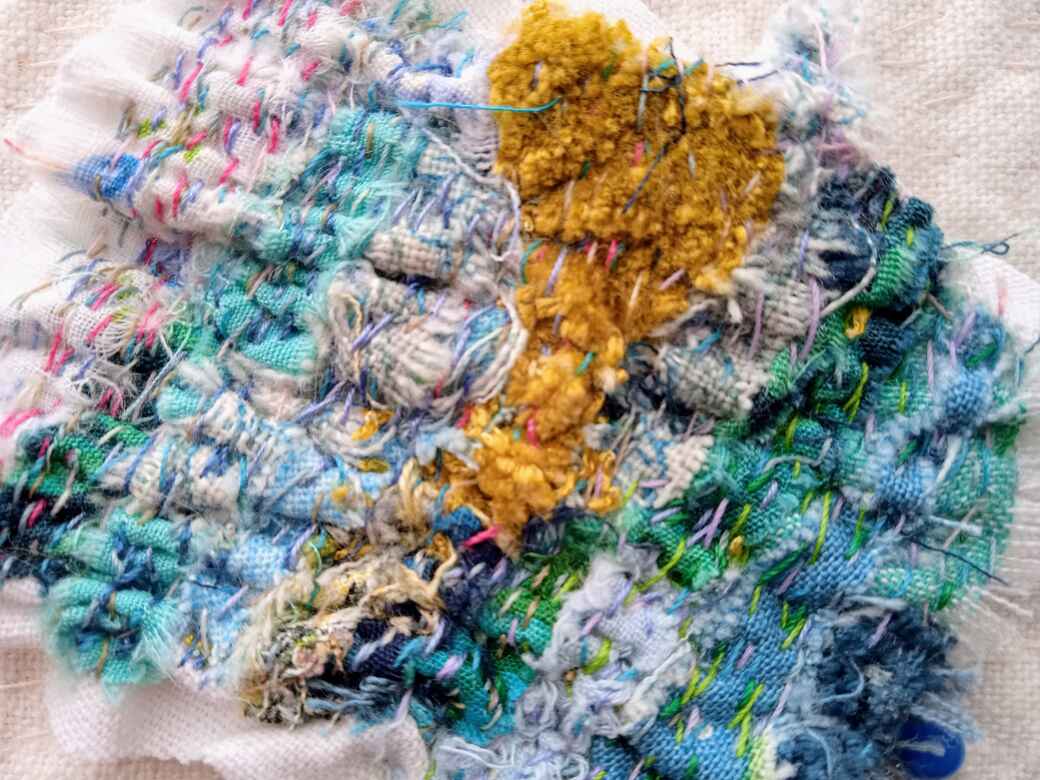
7. I decide to not add any more scraps but to continue layering stitches in different coloured threads. (Fig 8.)
Once you are happy with the result, (or if you have reached a set time limit, as recommended in The Crafting Creativity Project) anchor the thread at the back of the work with a few small stitches.
OPTIONAL: Follow steps 8-10 to attach your scrappy fabric to a rock like I did, to create a paperweight style decorative rock.
8. Cut around your scrappy fabric, leaving 5-10mm of the base fabric all the way around for a turning/hem. (Fig 9.)
9. Fold the 5-10mm turning under your work on the wrong side, pin and stitch the hem in place:
- With needle and thread sew a few small stitches to anchor thread.
- Work around the hem, make a stitch in the turned base fabric, then make a stitch in the back of your work and then make a stitch in the turned base fabric again. Repeat so you are creating a zig zag pattern with the stitches to hold the hem in place, flat against the back of the work. (Fig 10.)
- Anchor the thread with a few small stitches.
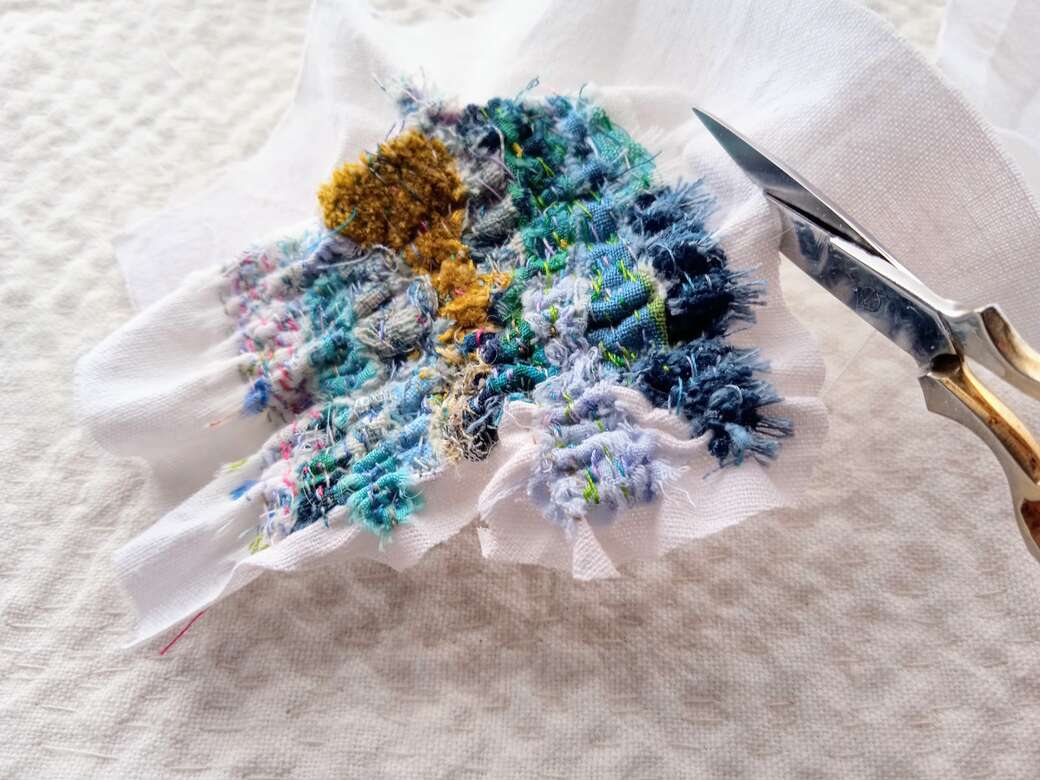

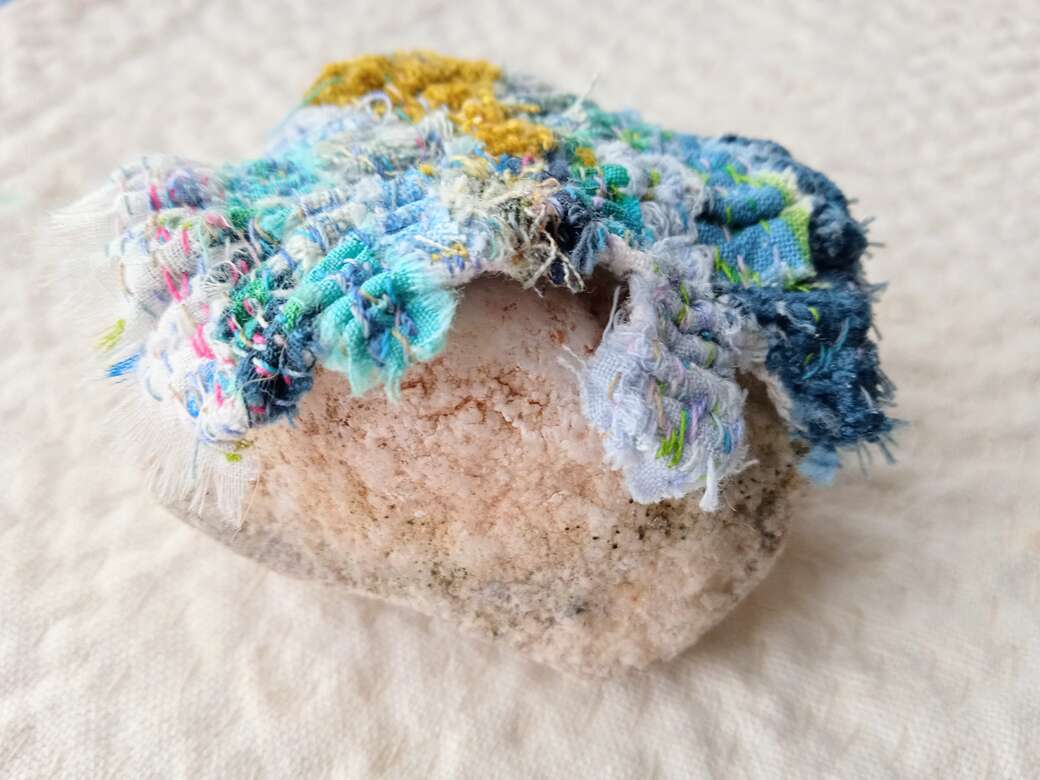
10. Place your scrappy fabric over the rock. (Fig 11.) You could collect some rocks and pebbles in advance, if you plan to make a few of these decorative rocks.
11. Once you are happy with the position of the fabric, stitch the fabric to the rock:
- Secure a strong thread to one side of the fabric with a few stitches
- Wrap the thread under the rock and make a stitch in the fabric at the opposite side to the first stitch. Pull the thread tight.
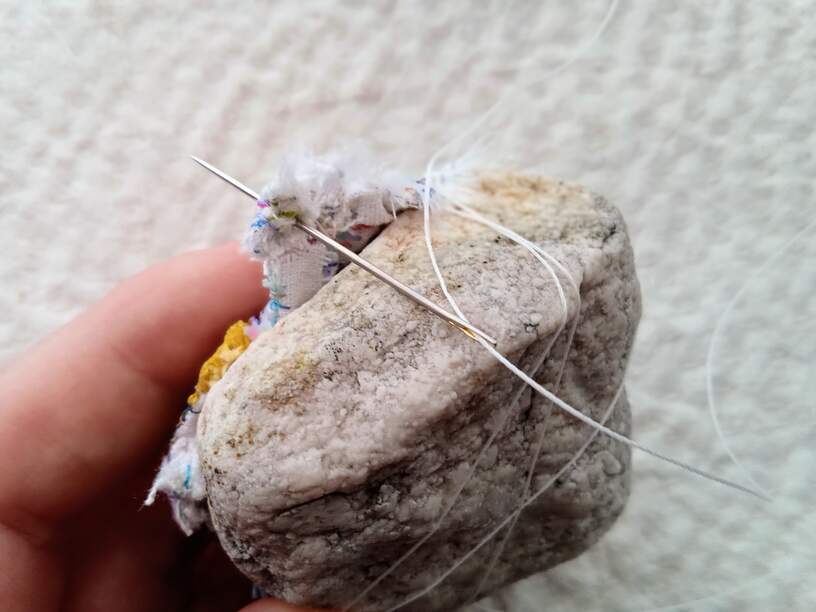
- Take the thread back under the rock at a slightly different angle and make another stitch approx. 10 mm away from the first stitch. (Fig 12.)
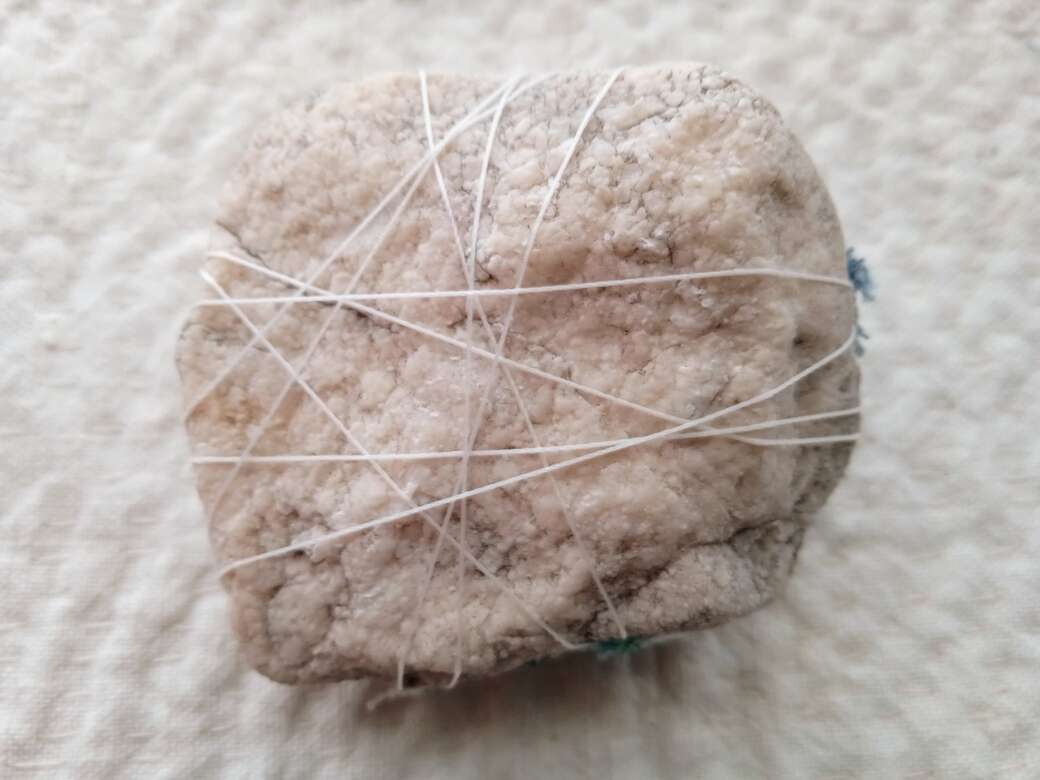
- Repeat these last 2 steps, back and forth to secure the fabric to the rock. The threads at the base of the rock will create a star like pattern. (Fig 13.)
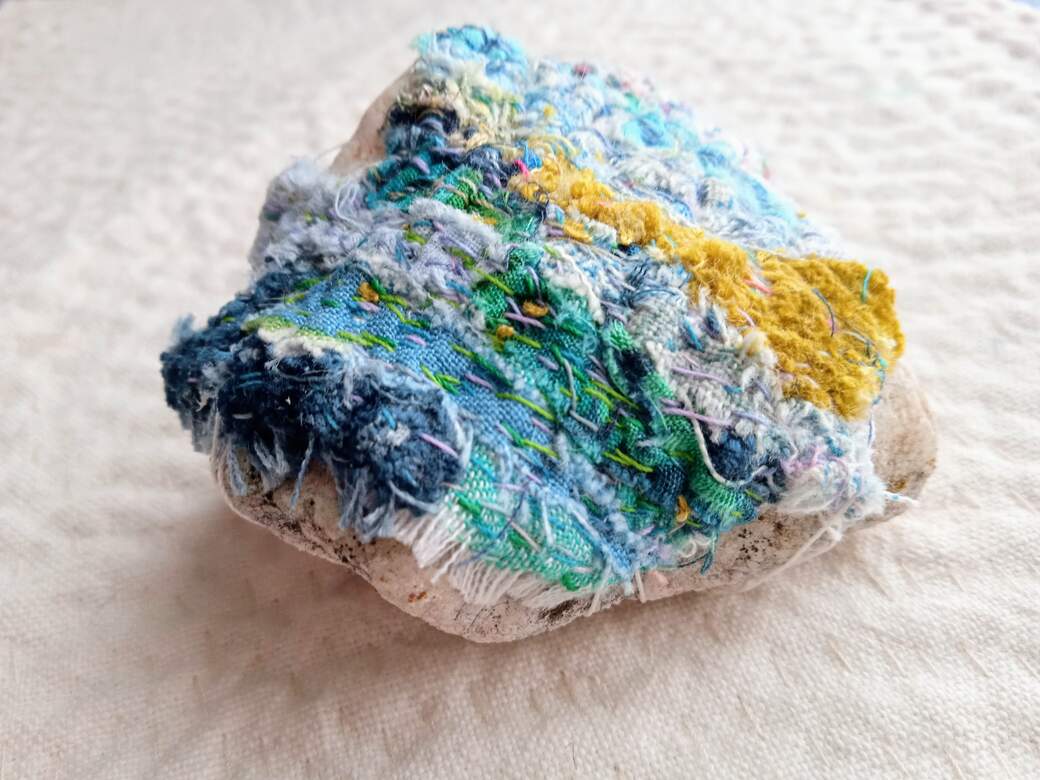
- Anchor the thread at the last stitch by making several small stitches in the same place. Cut the thread. (Fig 14.)
Did you enjoy this Free tutorial and find it easy to follow?
Would you like to see more FREE tutorials like this one?
YES!
Then please consider making a small donation using the donate button in the menu above.
There is no obligation whatsoever but your support is very much appreciated and helps to keep this site free from those pesky adverts.
Thank you x
The rock idea came to me because the scrappy fabric composition, I was working on, reminded me of moss.
This tutorial would work well in other colourways. You could try decorating beach pebbles using ocean blues.
These decorative rocks and pebbles would also make cute gifts.
I’ve already made a few of these scrappy fabrics but this is the first time I have made one into something.
What else could you make with these scrappy fabrics?
Post your suggestions below in the comments.
Thank You & Happy Making x

